
How to clear an overgrown garden in sensible stages
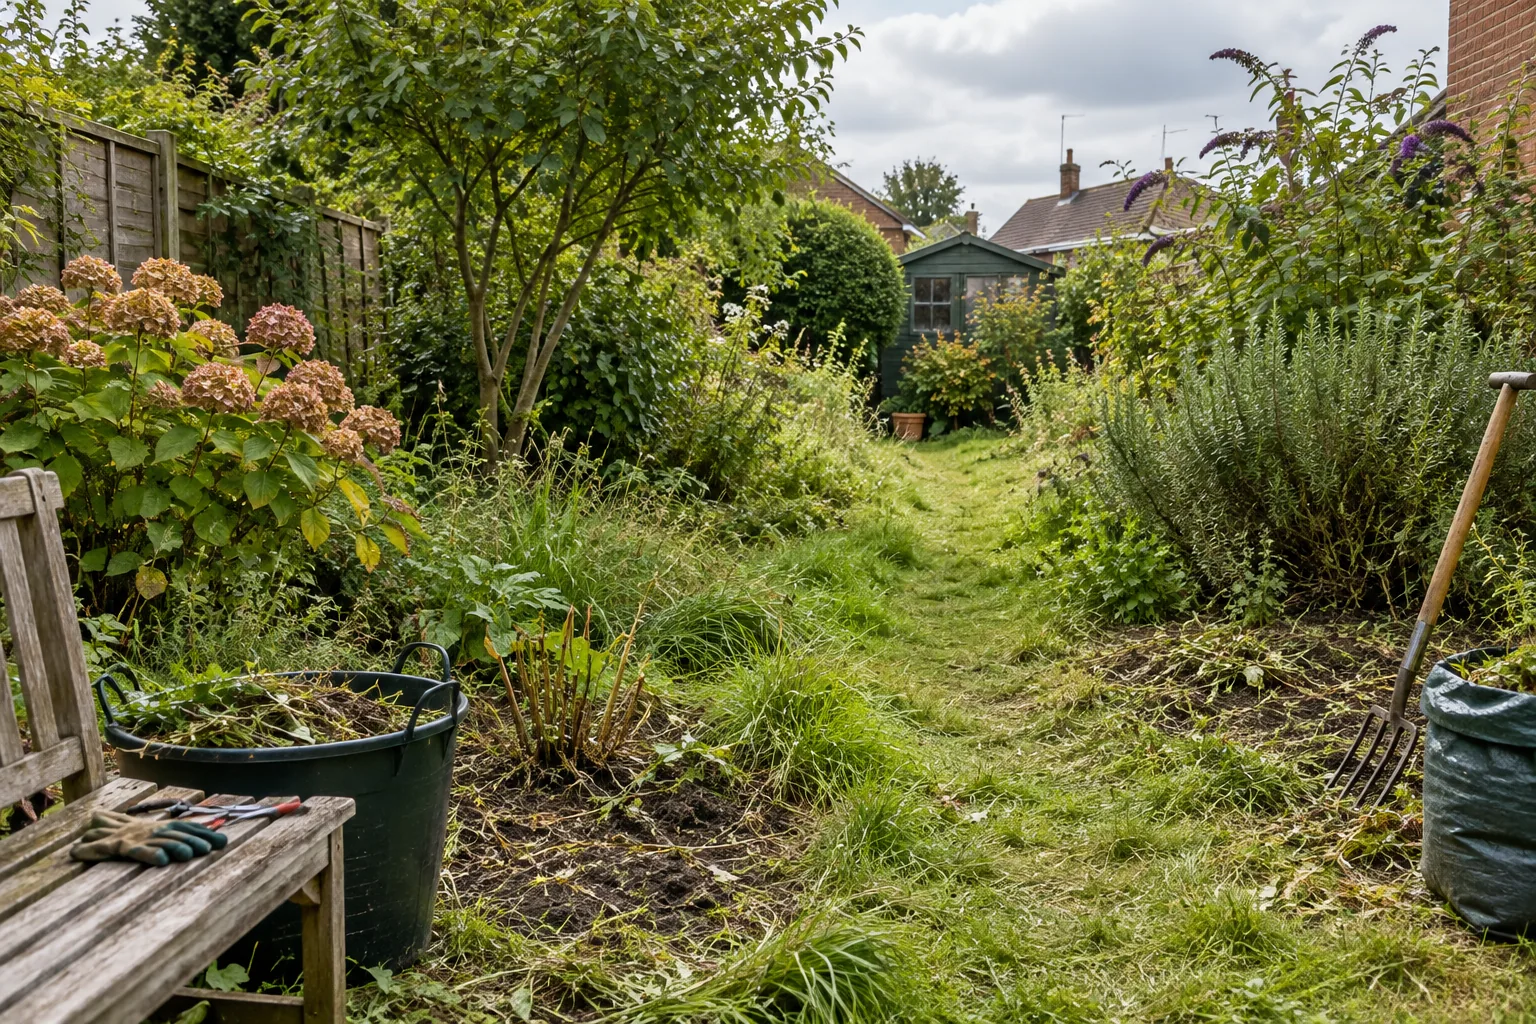
An overgrown garden can make every job look urgent. Brambles may block the gate, a shrub may hide the path, and last year's pots may have vanished into long grass. The temptation is to remove everything in one push. That can throw away established plants, create a mountain of waste and leave bare ground ready for the next wave of weeds.
A staged clear begins with access and information. Open a safe route, identify what you want to keep, and divide the space into areas that can be finished and maintained. You do not need a perfect design before lifting the first stem, but you do need to know which plants and structures should survive the work.
The RHS advice on mature gardens recommends observing an inherited space before making major changes, while dealing with obvious weed infestations as they appear. That is particularly useful if the garden is new to you: a bare winter border can reveal valuable plants in spring. Move promptly on access and genuine hazards, but be measured with permanent removals.
Stage one: survey from a safe route
Start where you can stand securely. Photograph the garden from the door, gate and any visible corners. Look for steps, broken paving, sharp debris, unstable fencing and branches over a route. Do not push straight through dense vegetation when you cannot see what is beneath it. Use a sturdy tool to move growth gently and open a narrow route, then inspect the ground before extending it.
Mark obvious keepers: healthy shrubs, trees, flowering clumps, useful climbers and established ground cover. A simple length of string or plant marker is enough. If you cannot identify something, take a clear photograph of leaves, stems and any flowers or seedheads rather than cutting it to the ground. The RHS weed identification guide is a starting point; it also reminds gardeners that a plant is a weed in the practical sense when it is growing where it is not wanted.
Survey wildlife before working through dense cover. Watch for birds using a shrub, and inspect areas that may shelter animals. Do not disturb an active bird nest; if you suspect one, leave the affected area and arrange work around it. Look out for ponds, hidden containers or debris piles that may make the work more complicated than a simple cutback. A deliberate first walk avoids injuries and regrettable removals.
Stage two: open and protect the main access
The first physical goal should be a usable route, not a completely clear garden. Cut or tie back vegetation that blocks the door, gate and a line through the space. Put cut material in one designated collection point, away from drains and remaining plants. Sweep enough debris to see the path surface. This creates a safe base for the next visit and makes carrying waste possible.
If a path has disappeared beneath soil and weeds, uncover it carefully rather than assuming it is still level. Roots, loose slabs and changes in height may be hidden. Do not run a mower or powered trimmer over an area you have not inspected for wire, stones or other hard objects. Hand tools may be slower at first but give better control where valuable planting and debris are mixed together.
Choose where equipment and sacks will stand. In a terrace or small London garden, all waste may have to pass through the house or a narrow side passage. Protect surfaces and think about the order of removal. It is easier to bring bulky material out in manageable lengths than to create an enormous heap at the far end with no clear route to move it.
Stage three: clear one zone to a maintainable finish
Pick a small section that affects daily use, perhaps the path edge and adjoining bed. Remove unwanted growth by its root where practical, taking care around plants you marked to keep. Sort green material, woody stems and non-garden rubbish as you go. A section is finished when you can see what is planted, reach it for future care and manage the remaining weeds—not when the soil is scraped bare.
Do not assume every tall plant is invasive or every self-sown plant should be removed. The RHS notes that many plants labelled weeds also provide wildlife value. You can decide that a clump belongs in a back corner but not across the path. The practical question is whether it competes with something you value, spreads into access, or is likely to create a bigger problem if ignored.
After one zone is clear, step back. Did a mature shrub give good screening? Does the grass receive enough light to recover? Is a bed wider than expected? Those observations guide the next zone. Clearing in sections also lets you stop at a useful point if weather, time or waste capacity interrupts the job.
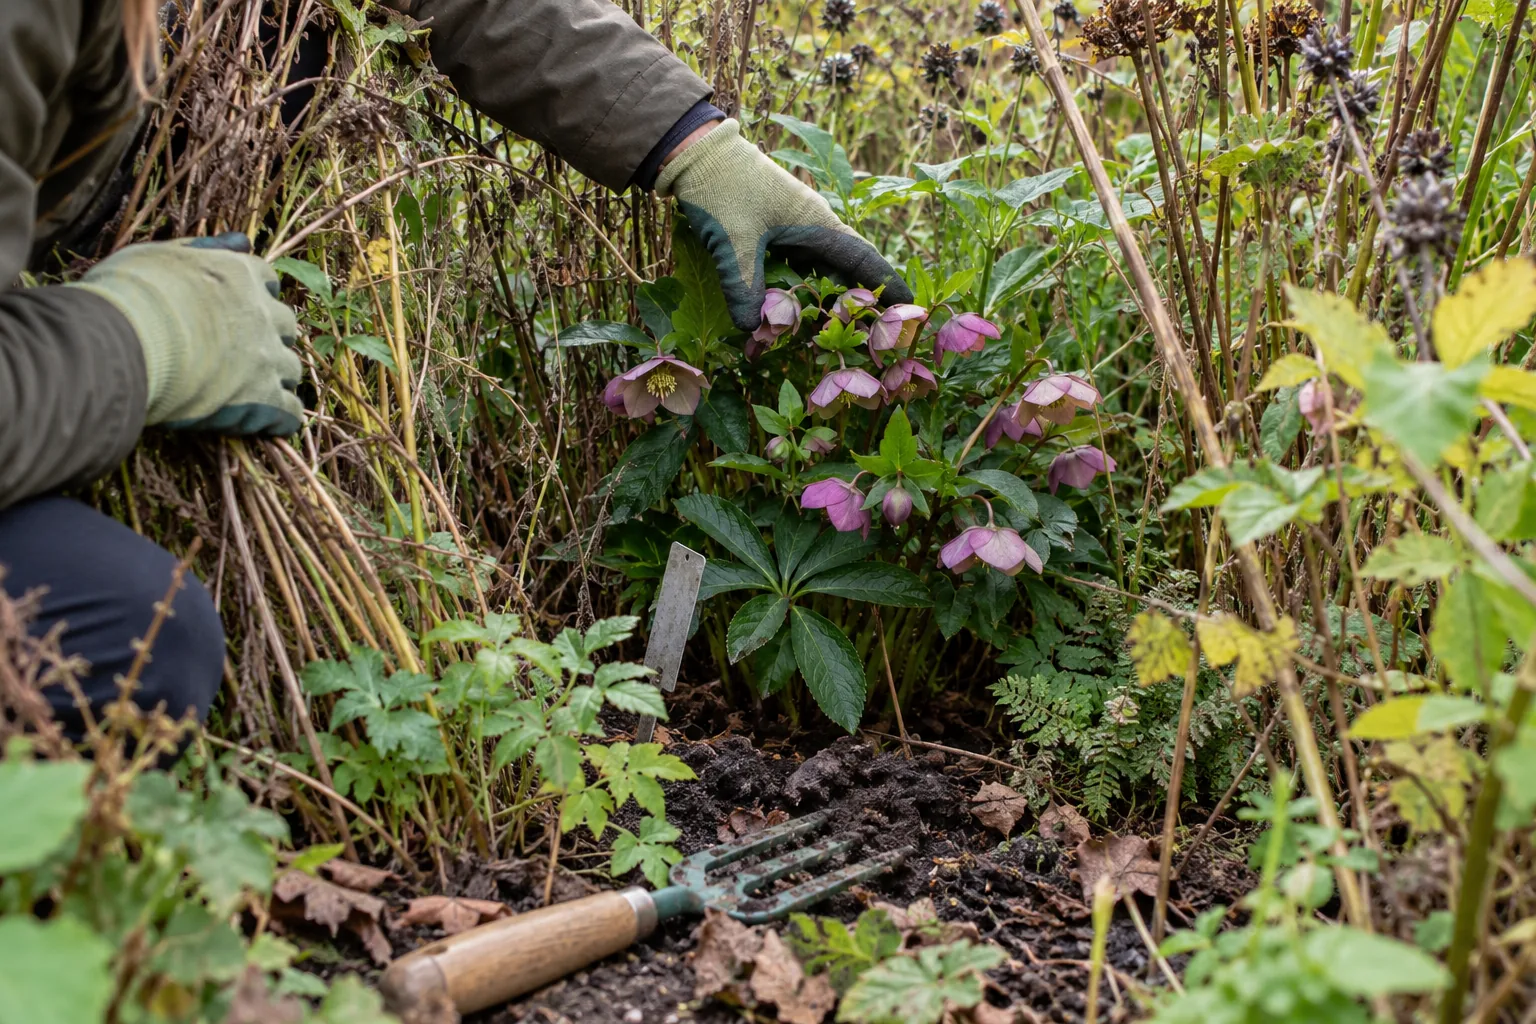
Keep waste under control from the beginning
Garden material expands when cut and piled. Woody stems do not pack like leaves, and wet soil attached to roots can make bags heavy. Separate what can be composted safely, what belongs in an authorised garden-waste collection and what is general rubbish. Check your borough's current collection rules; subscriptions and accepted materials vary. Do not mix rubble, painted timber or plastics into green waste.
Decide whether the garden can absorb some clean material. Healthy leaves can become leafmould or be used in suitable borders; our fallen-leaves guide covers small-space options. However, an overgrown garden may already have too many piles and too little space. Reuse only what you can store and manage, rather than keeping every cutting as a theoretical resource.
If the volume is large, arrange garden clearance with a clear brief. State approximate access width, steps, parking constraints, the kinds of waste present and the plants to retain. Waste removal can dominate the time and cost of a job, so scope it honestly. Ask how non-green items will be handled instead of assuming they are included in ordinary garden waste.
Decide what needs specialist attention
Large trees, high branches, unstable structures and suspected regulated invasive plants are not routine clearing tasks. Do not cut blindly at tree limbs to let in light. Trees may be protected, and inappropriate cuts can cause damage. If a substantial tree affects safety or the future layout, seek suitable assessment and check relevant permissions before work.
Dense brambles and climbers can also conceal nesting birds. The RHS guide to renovating climbers specifically calls for a nesting check before cutting. If you find an active nest, postpone that part and proceed elsewhere. A staged plan makes this possible: one corner can wait while the path, pots or a separate bed are addressed.
Unknown waste is another reason to pause. Sharp metal, broken glass, chemicals or suspect building materials require appropriate handling. Do not hide them inside green-waste bags. Make a separate list and arrange a suitable disposal route. A safe clearance is measured by what remains sound and usable, not only by the amount taken away.
Build the first maintenance cycle before finishing the clear
Bare ground and open space are not the end of the job. Once light reaches the soil, dormant seeds and remaining roots may grow strongly. Plan when you will return to check regrowth. Mulch or replant suitable beds when conditions allow, without burying the crowns of retained plants. Keep the new access route clear so follow-up visits are easy.
If you want a lawn, assess shade, soil and how people will cross it before buying seed. If a path is needed, include it in the layout instead of expecting new turf to survive constant traffic. Garden design can help when the recovered space needs new levels, planting or routes. For the ordinary care that follows, a garden maintenance routine is usually more useful than repeated emergency clearances.
Our monthly maintenance routine shows how to turn the cleared space into manageable visits. The first cycle may be more frequent while weeds and vigorous plants reveal themselves. Once the main growth is under control, adjust attention to the actual season and the garden's use.
A sensible stopping point for each workday
Before finishing, make sure the route out is open, tools and sharp debris are secured, and waste piles are stable. Photograph the newly visible planting and note any unidentified plants for later. Choose the next small zone. A garden that is only one third cleared but has a safe path, protected keepers and a realistic waste plan is already moving in the right direction.
That order also makes the final result better. Instead of replacing a mature garden with an empty patch, you can recover the plants, structure and shade that are worth keeping, then change only what prevents the space from working for you.